.png?width=375&height=150&name=MicrosoftTeams-image%20(63).png "MicrosoftTeams-image (63)")

Courtney Christensen
Increasing the value of a home is the goal of many homeowners. Whether you’re trying to sell, looking to refinance, or polishing up a fixer-upper, home projects will get you the best ROI. Most of us don’t have the extra money to spend on home remodels, but getting your home’s value up doesn't have to be expensive.
The kitchen is your biggest asset. It’s the one room in your house that provides the most return on your investment. Here are a few ways you can update your kitchen in your spare time for less than $500.
A Fresh Coat of Paint
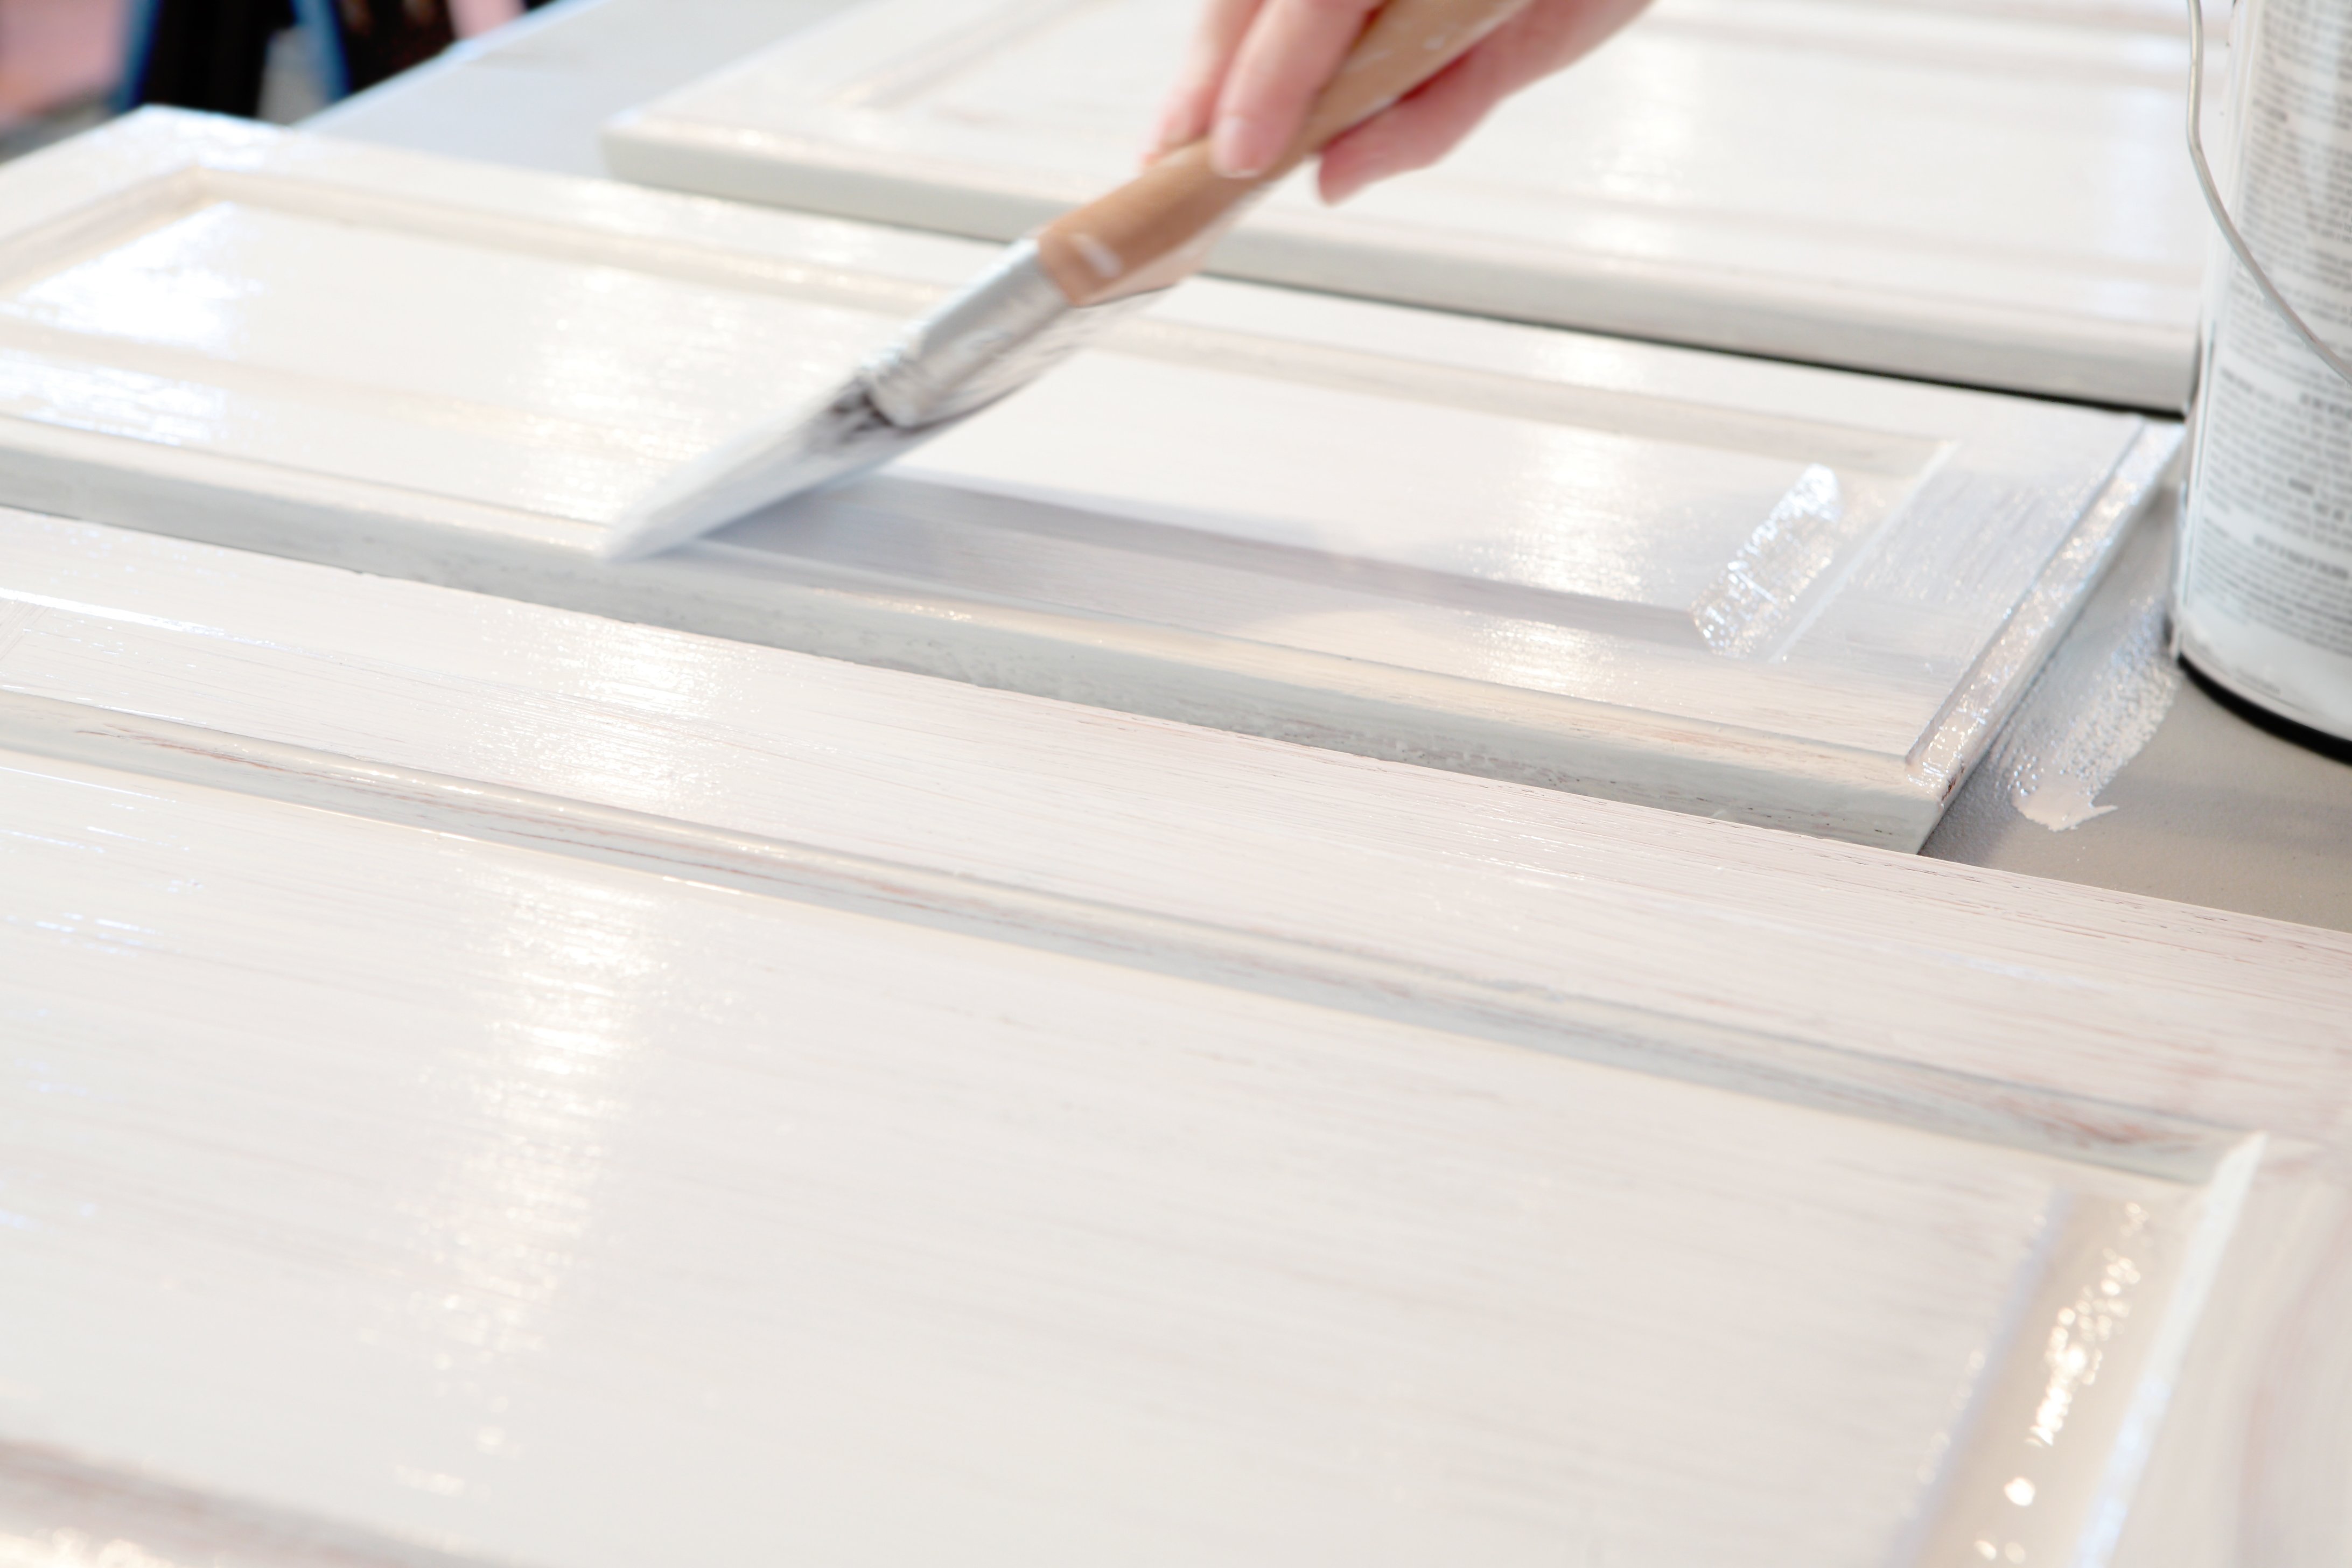
One of the most impressive ways you can update your kitchen is to paint your cabinets. For less than $200, you’ll get a massive bang for your buck. This project will take about a week to completely finish (most of that is drying time!), so make sure you have the time to spend on it.
- Begin by scrubbing your cabinets inside and out. If you don’t strip away all of the grime and dirt, the paint will not adhere to the surface.
- Then, remove the doors from the cabinets. It’s important to do this because it will make it much, much easier to paint the doors as you’ll have better access to corners and edges. You’ll need to lay them flat to do so, propped up with paint cans, blocks, or anything else that will keep the doors elevated and horizontal.
- Lightly sand your cabinets to remove the top protective layer. Without this step, your paint will chip off quickly once dry. If the cabinets themselves are covered in a layer or laminate, scuff this up as well.
- Use a primer first. Then two coats of your chosen paint. Use a satin finish paint because it doesn't show dirt and is easy to wipe clean. Don't use a paint and primer in one, as tempting as it is. These do not last long and chip easily. It's best to pick a high-quality paint. You want something that will stand up to constant use. Lastly, use a protective clear coat.
- Let each layer dry for 8 hours before applying the next layer. After the last layer is applied, let the paint cure for at least 3 days (a week is better) before putting the doors back on your cabinets.
Step It Up
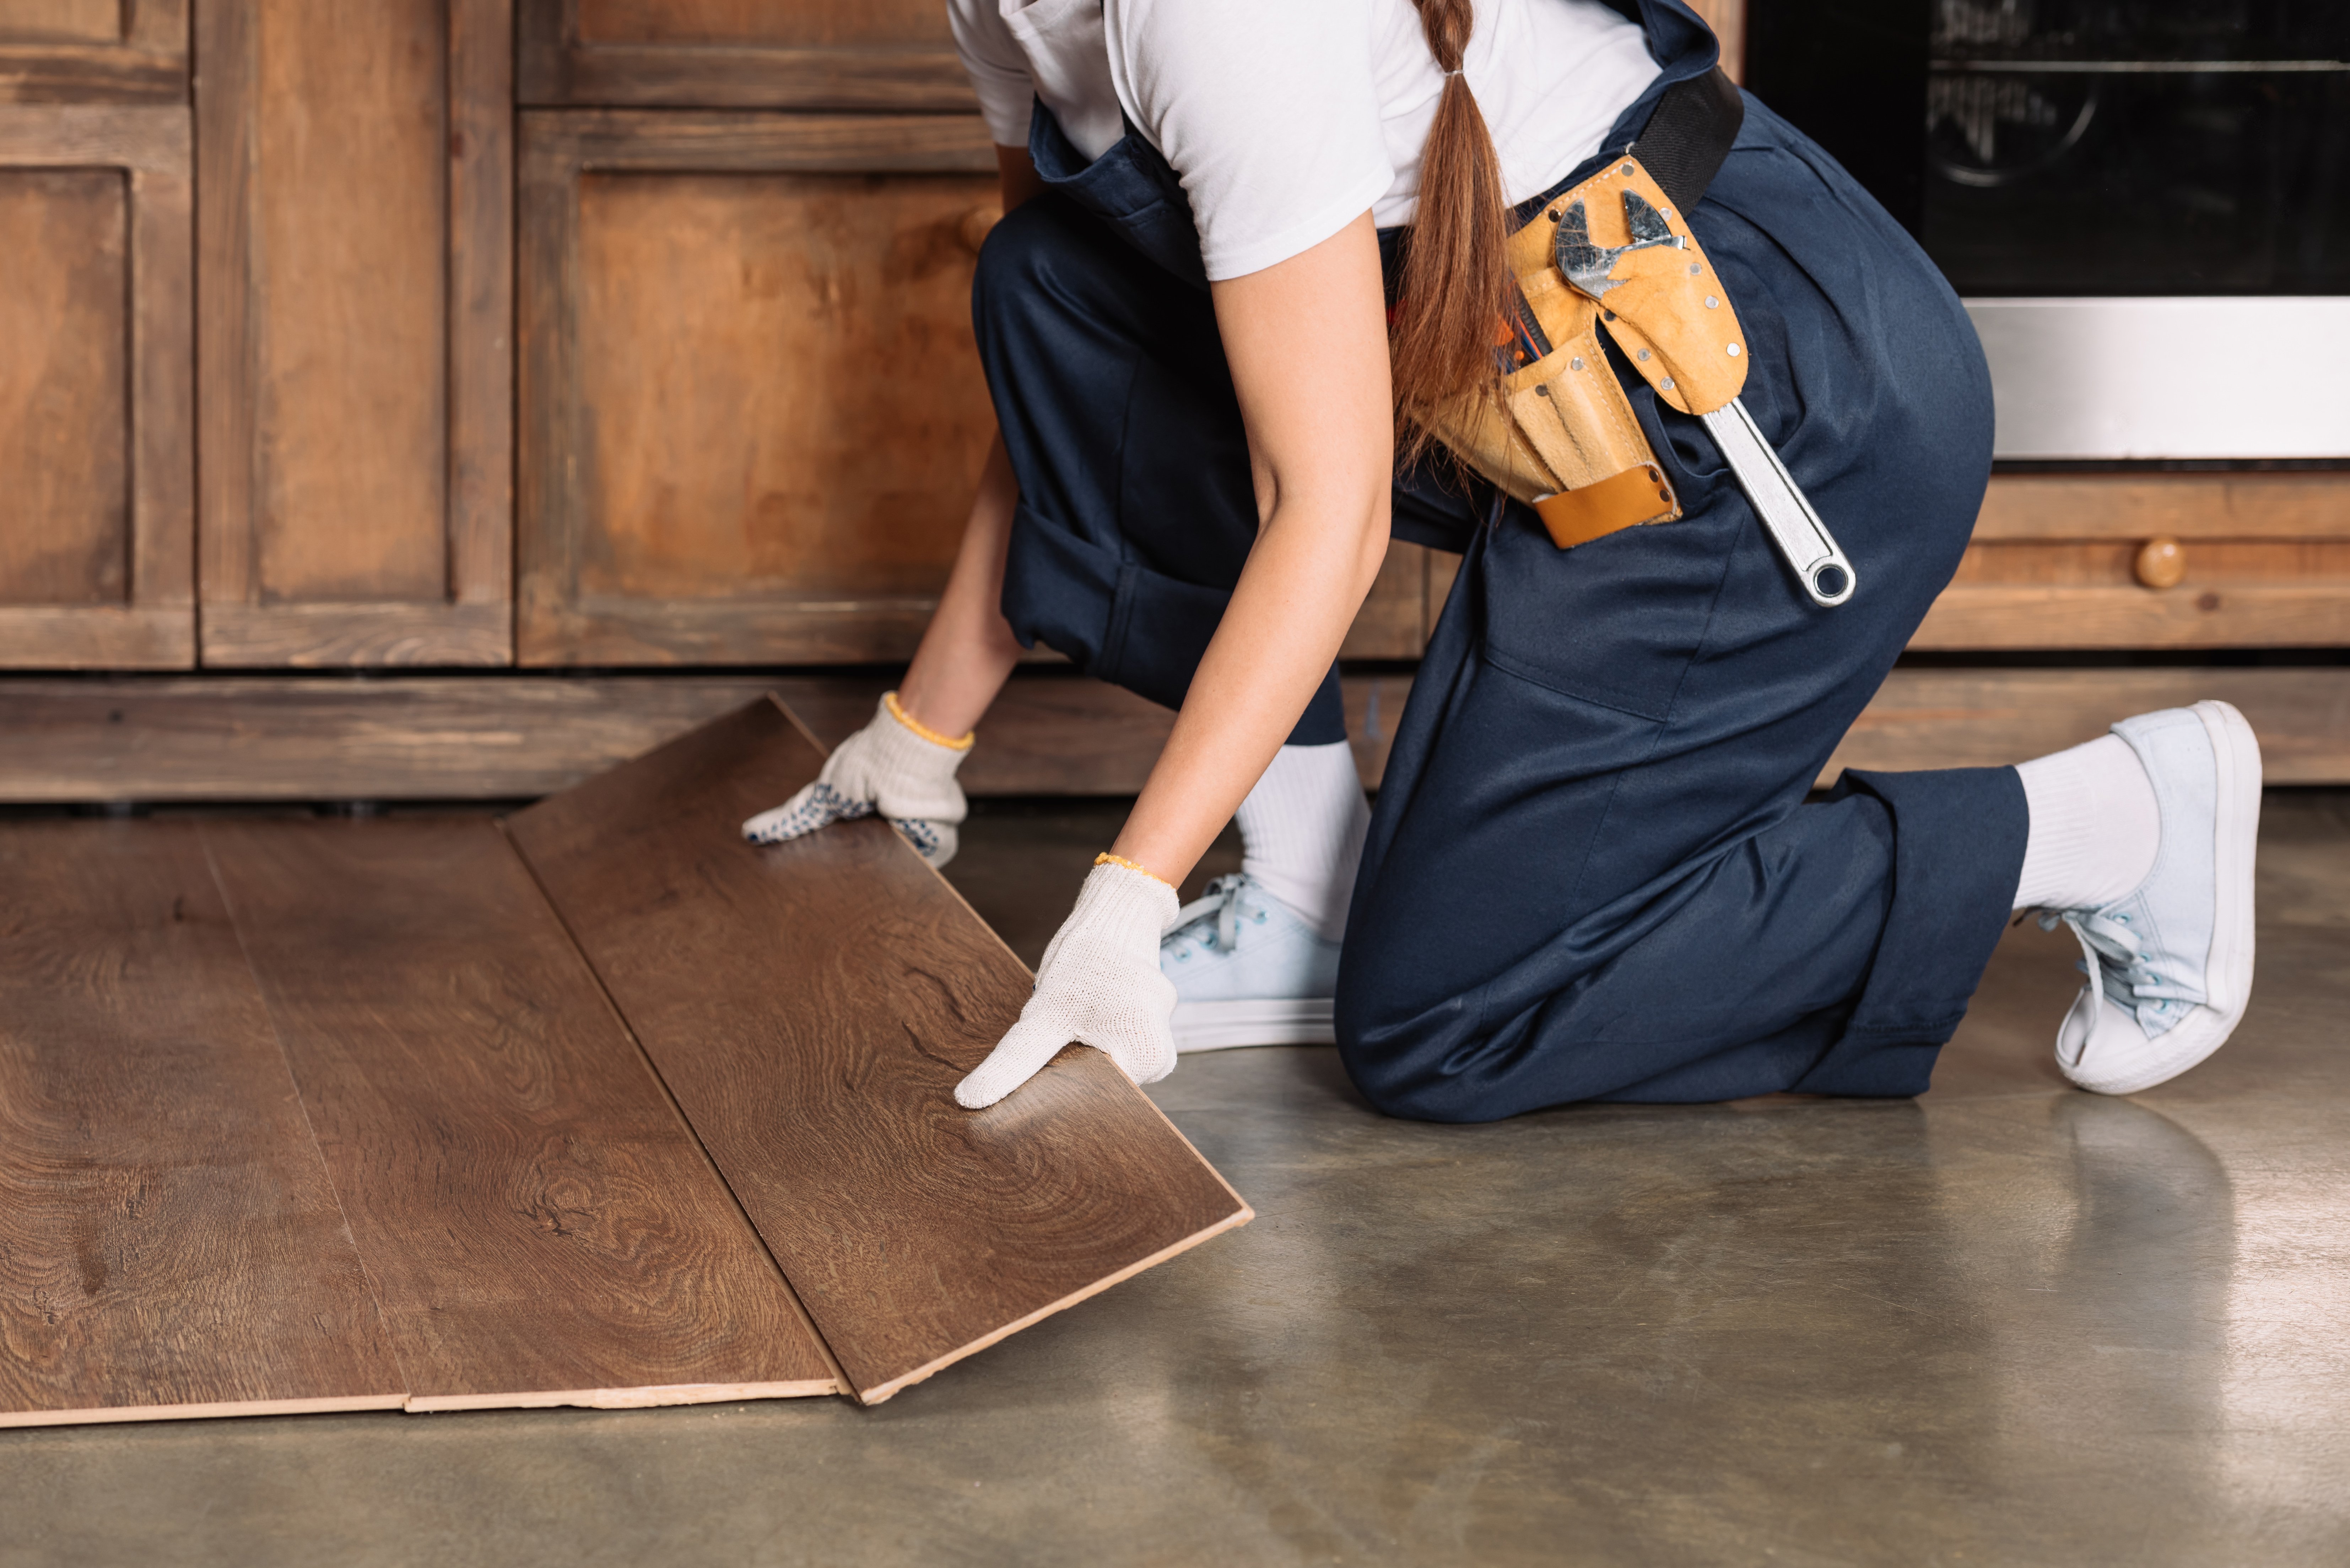 One of the more expensive updates you can do is to install new flooring. While you could absolutely hire someone for this service, many floors are easy to put in yourself. When thinking about what kind of flooring to put in your kitchen, you should remember that the kitchen is a common area. People (and pets!) are in and out of it all day. The flooring should hold up to scratches, spills, and frequent traffic. For this reason, vinyl and carpet are poor choices. Hardwood is iffy, too, as it is prone to scratches and can swell when subjected to liquid spills. However, not all hardwoods are created equal, and there are some more suited to the kitchen than others. Hardwood is generally the most expensive option.
If you’re looking for something more budget-friendly that will still make an impact during showings, you have two options: laminate and engineered vinyl (also known as luxury vinyl). Both have their pros and cons. Laminate cannot have extended contact with liquid -- it will begin to warp. However, it tends to be half the price of engineered vinyl.
Engineered vinyl (as well as some hardwood, laminate, and tile) comes in precut and interlocking pieces. It goes together like a puzzle, and can usually be installed in just a few hours. It can become expensive (between $3-10 per square foot) but unlike its dated predecessor, it is very sturdy and can handle a family’s daily life.
Make a Statement
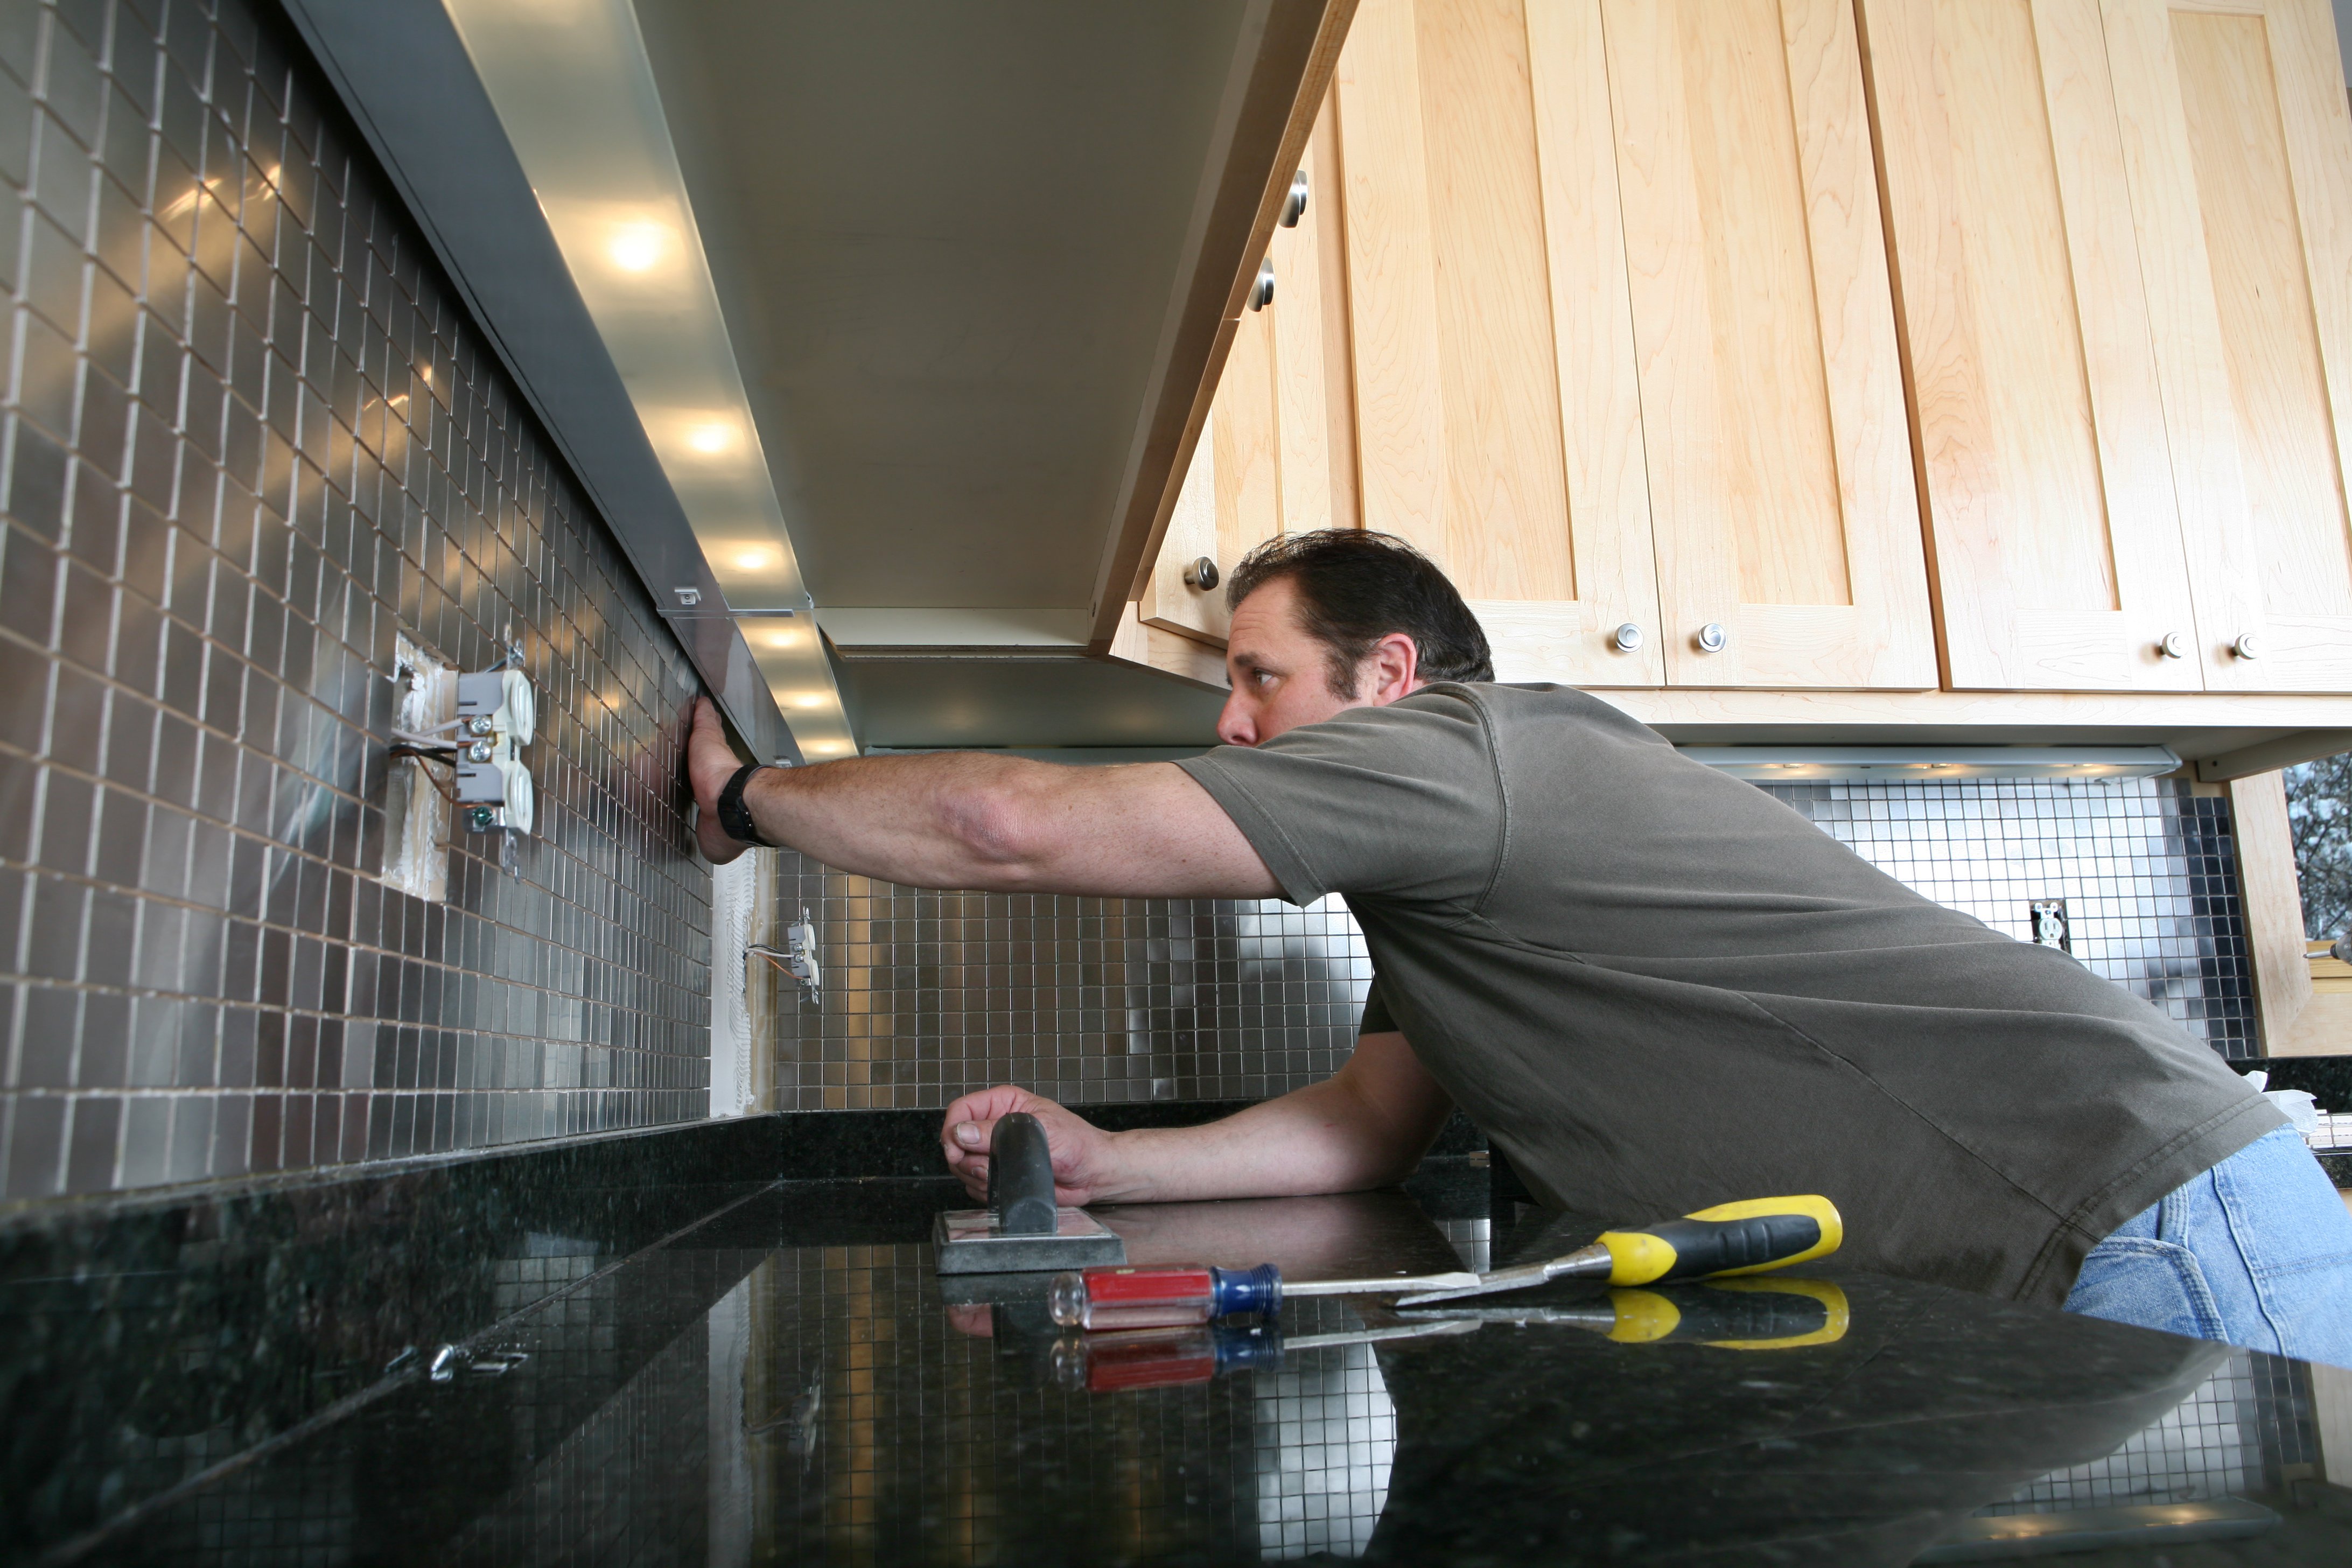 Backsplashes are becoming more and more popular - particularly the subway tile look. If done well, a backsplash is easier to clean than a painted wall and will hold up to grease and grime for longer than paint. Backsplashes instantly add character to your kitchen and can be installed in a single day. Adding a backsplash to your kitchen can be pricey, but if you do the installation yourself, you can save a bunch of money. With a subway tile backsplash, you can expect to pay around $400 -- depending on the size of your kitchen.
- No matter what kind of backsplash you intend to install, it’s important to plan out where you want the backsplash to go. Don’t be afraid to mark up your kitchen wall with a pencil!
- If installing tile, work in small sections. Mortar can dry quickly! However, you must wait at least a full day for it to set properly.
- Then, you add the grout. Smear it on in an even layer. Wipe off excess as you go. Once it’s all applied, wipe again with a wet cloth. You may need to go over this a couple of times because you’ll notice parts you’ve missed once it dries again.
- You could also go the peel-and-stick route. This is cheaper and less messy. However, it won’t have as much of an impact on the resale of your home. It will also need replacing sooner than the tile. It’s a great option for someone looking for a quick and cheap upgrade (for an open house, perhaps)!
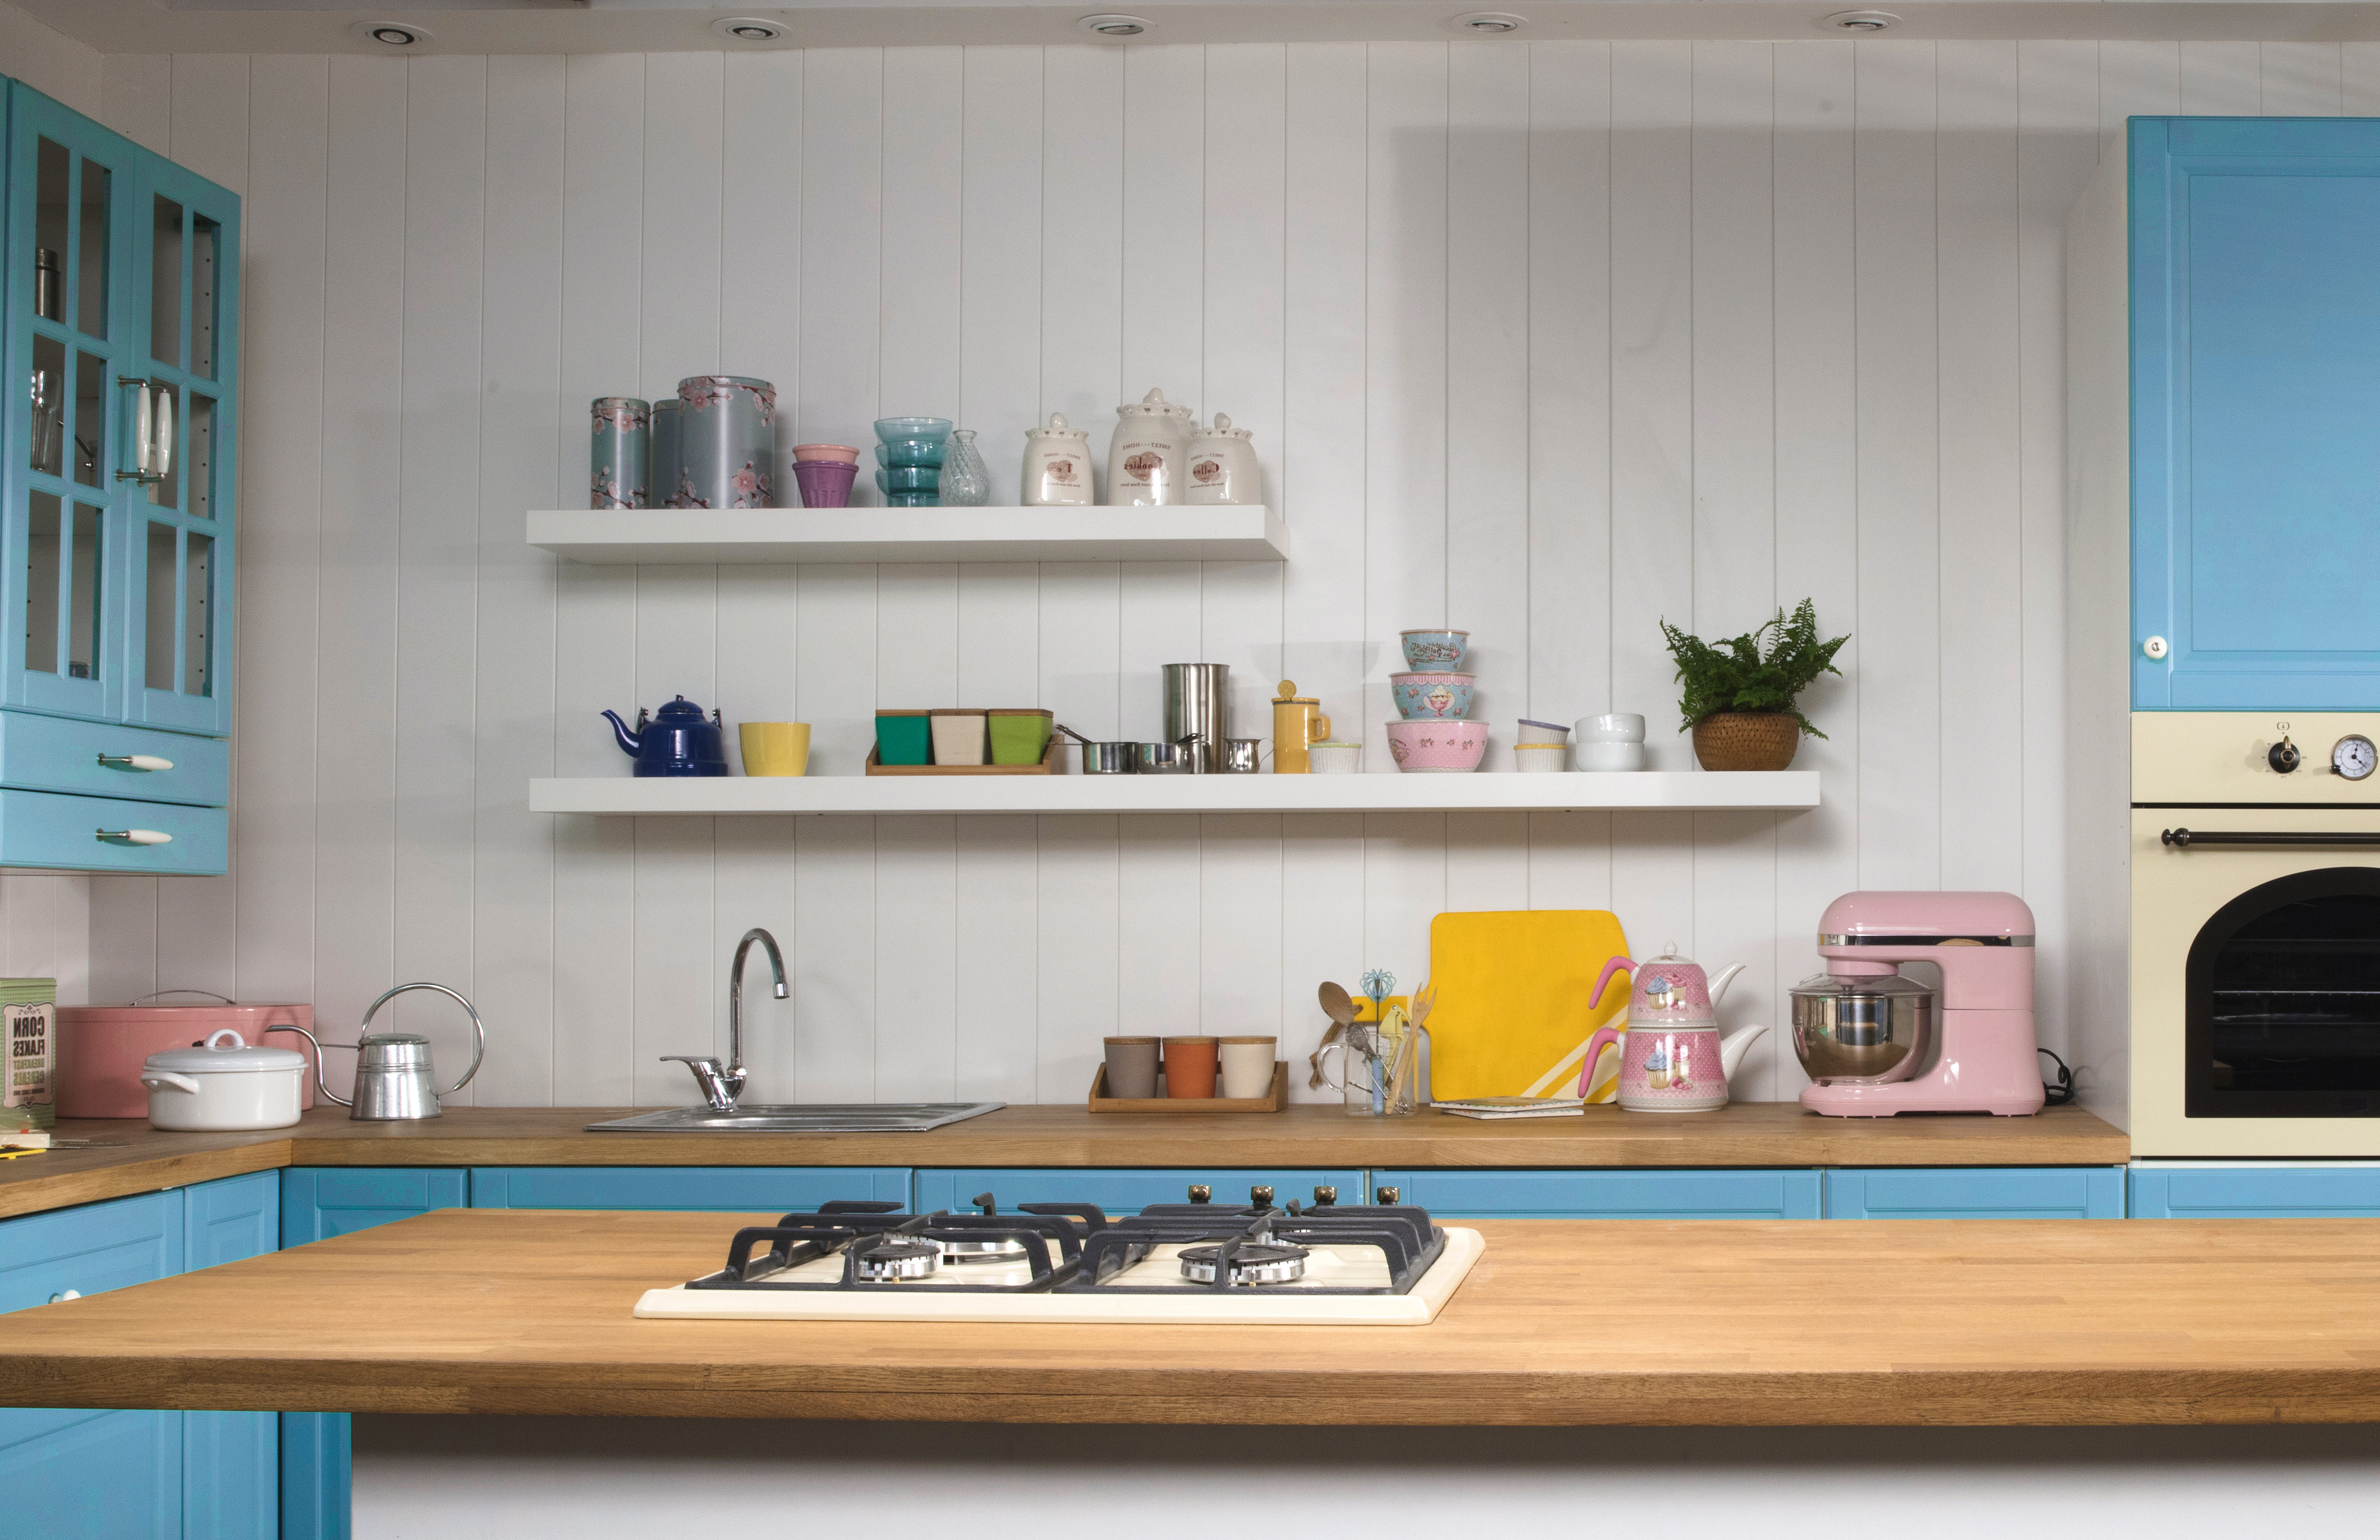
Light Up Your Life
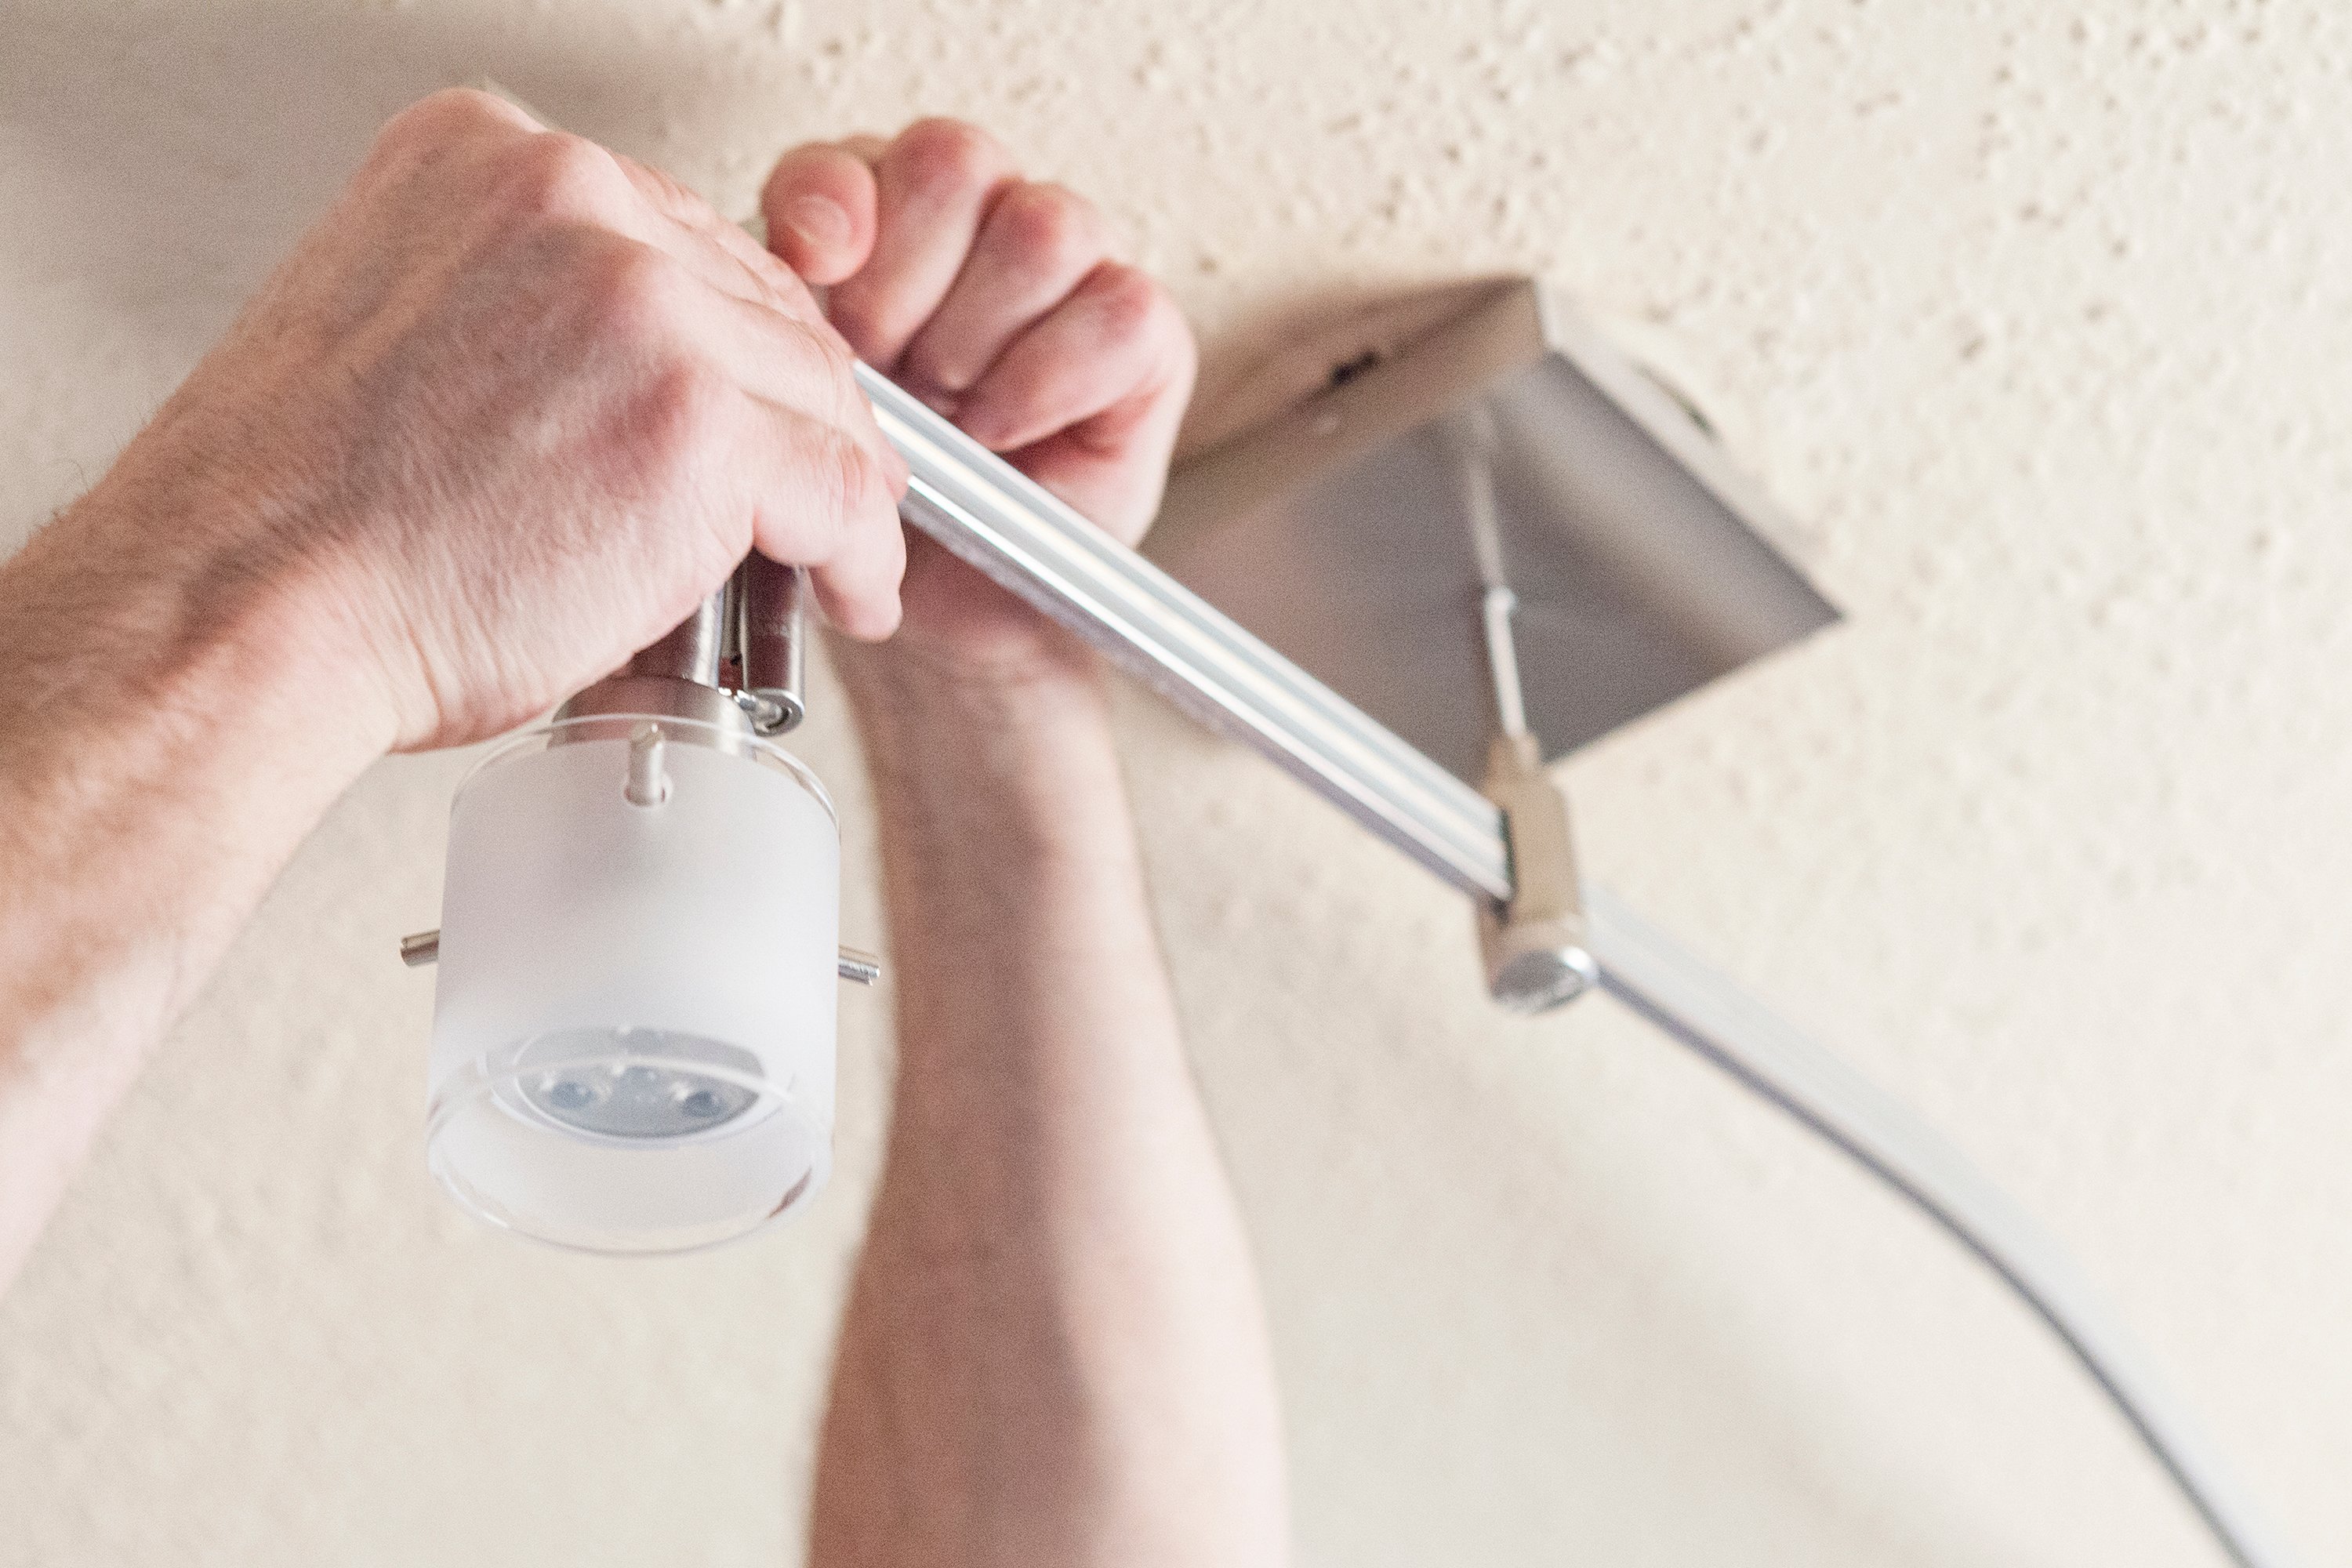 Lighting is very important in a kitchen, particularly for resale. Bright lights can make a kitchen look bigger and cleaner. Keeping a good balance of lighting is important, so you may not need every kind of light listed below. Make sure you keep your kitchen looking open and friendly, not overly cluttered.
Ceiling lights are going to be the easiest and most common lighting source. These can be set inside the ceiling (recessed lighting) or tight against it. These necessary lights will give you the widest range of lighting in your kitchen. The others are used to focus light in a specific spot.
Chandelier lights over your dining table are the next most common. The word chandelier brings about thoughts of large and extravagant fixtures (possibly made of crystals or candles). These days, though, a chandelier refers to any light that hangs down below the ceiling.
Another option is pendant lights over your kitchen island or sink. This is a great way to introduce personality into your kitchen with a trendy light fixture like these. You can also install lighting underneath your upper cabinets. This makes your countertop space much brighter and easier to use. This kind of lighting is becoming more common, and will certainly add a ‘Wow Factor’ to your kitchen during your resale.
Stay on Trend
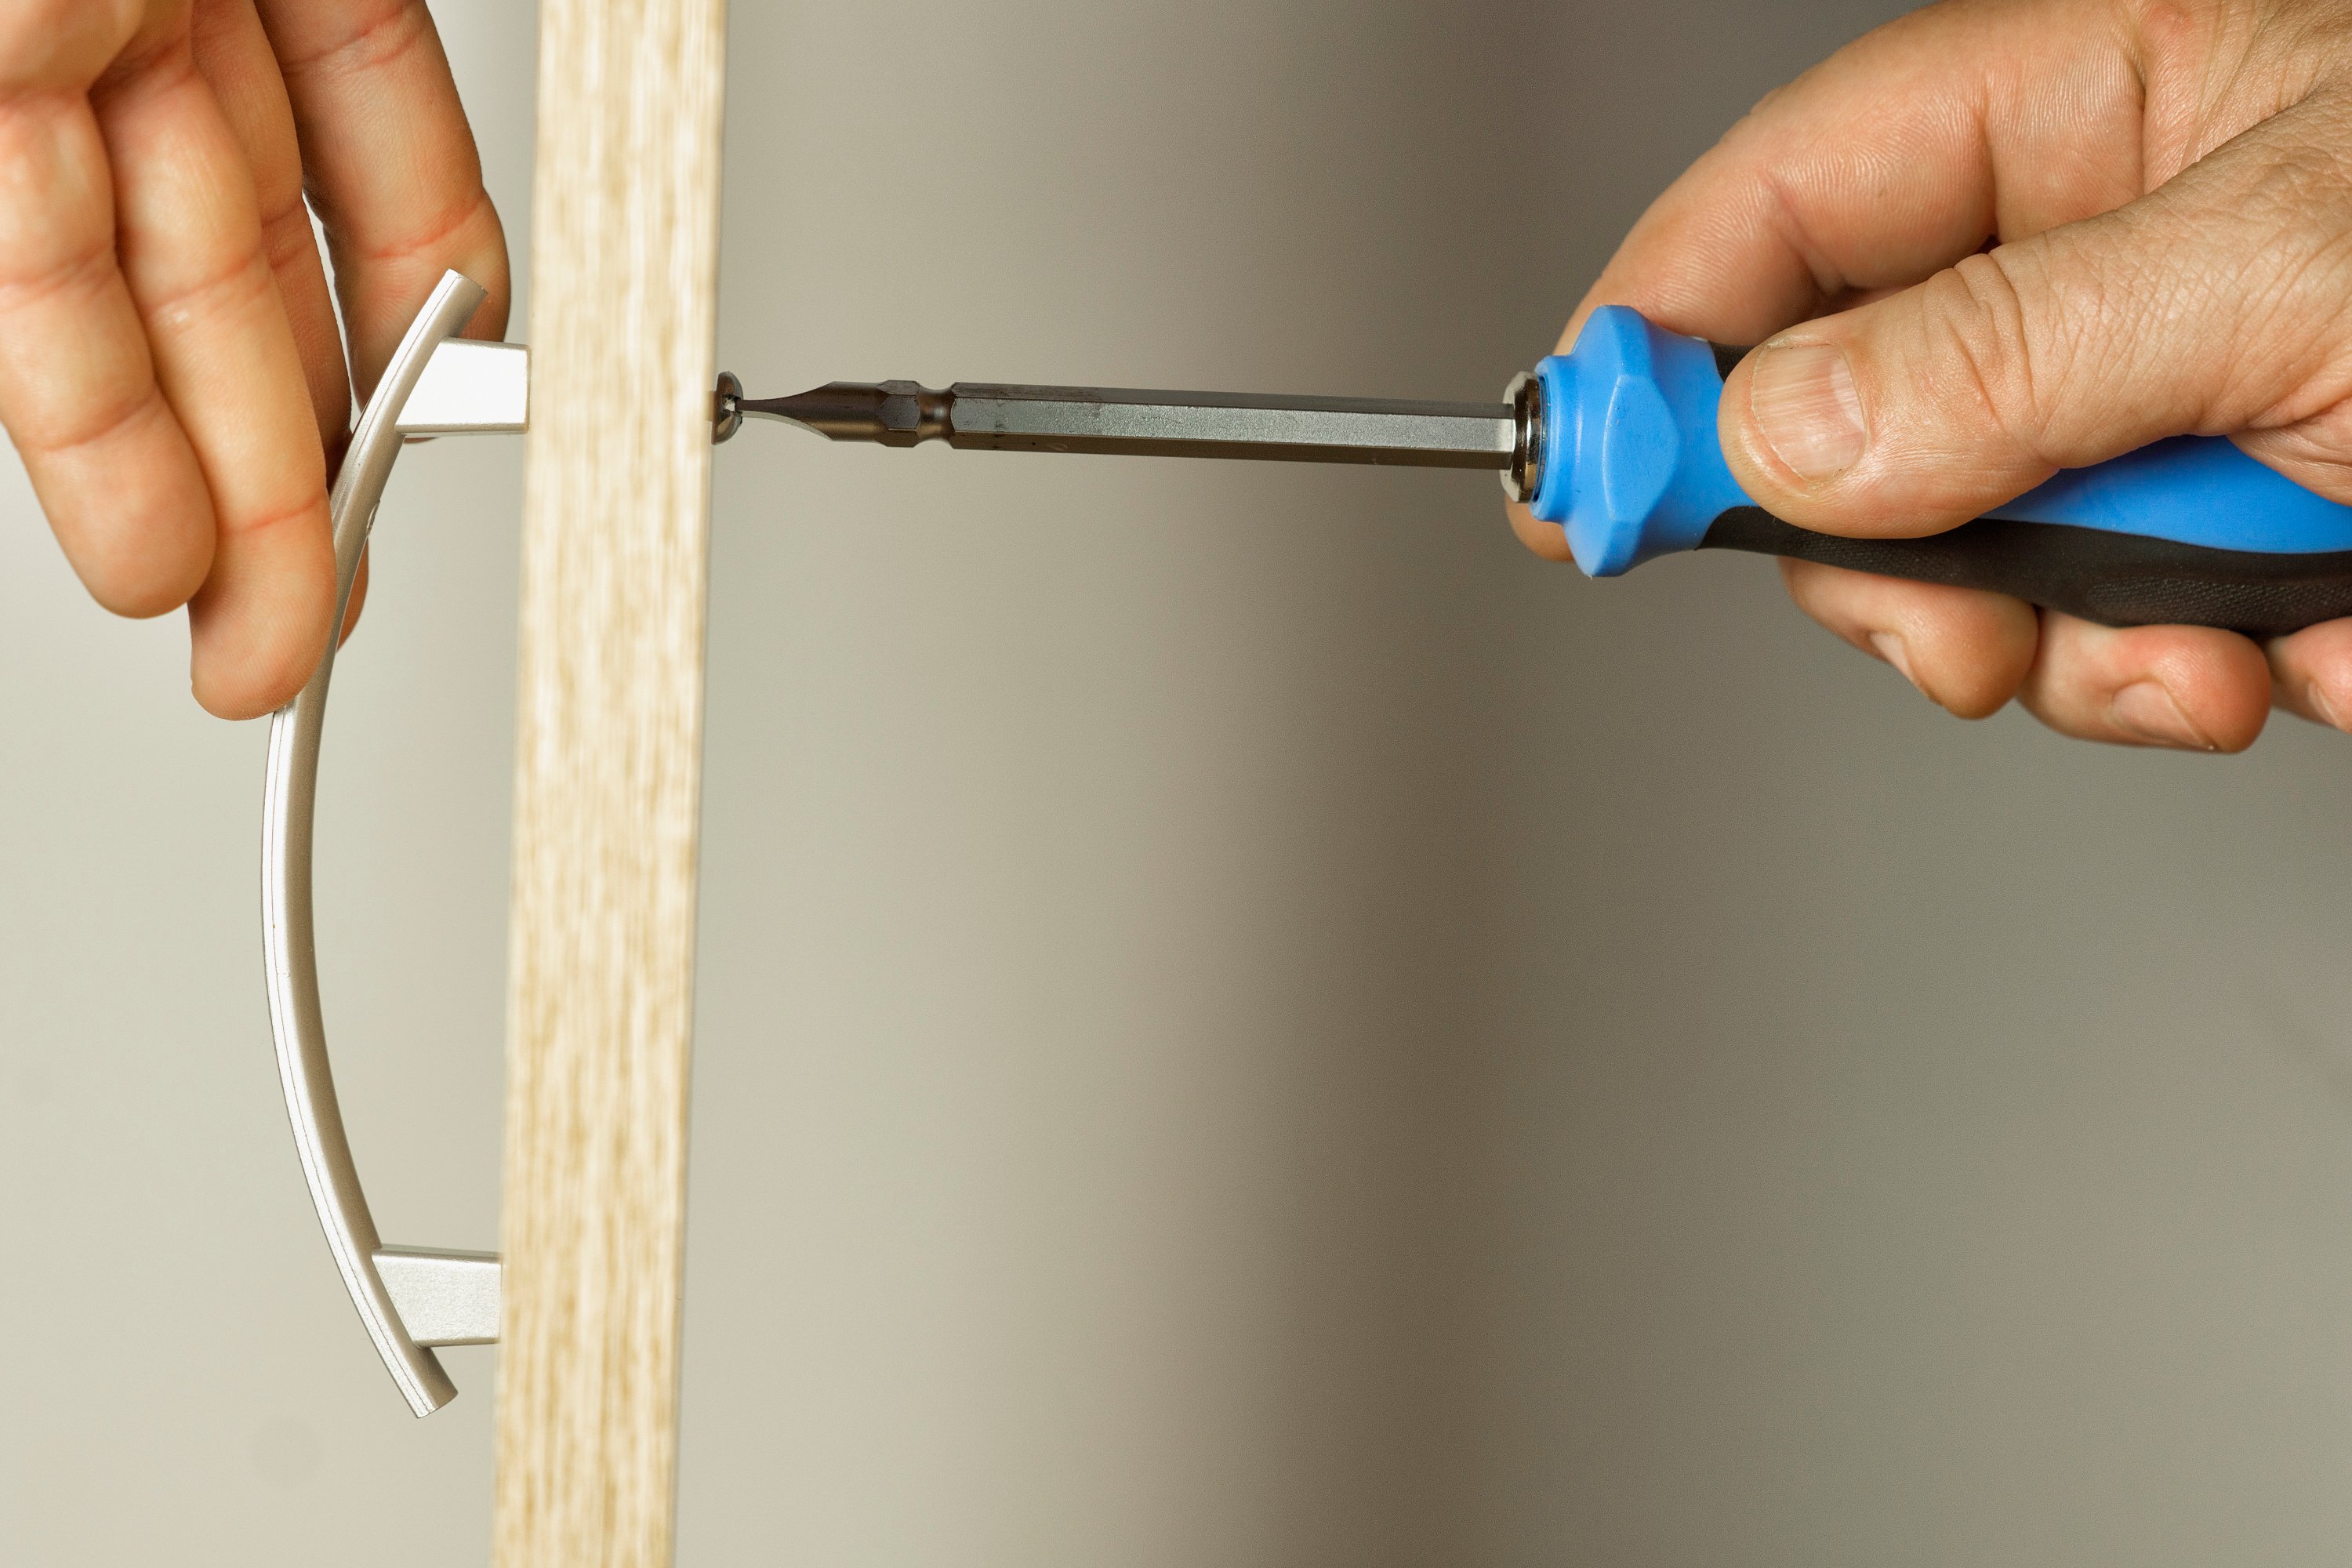 A cheap and quick way to modernize the look and feel of your kitchen is to replace the hardware. While you can stick with changing the handles and knobs on your cabinetry, you can also go one step further and update your sink and small appliances.
When deciding on new hardware, remember to stay on trend. Matte finishes are in style right now, so brushed metal in silver or nickel are safe options. You can also go for solid matte black for a sleeker look. You may even be able to pair a brushed gold (or rose gold) handle with a painted cabinet. They look particularly stunning with navy.

Matching your cabinet hardware with your small appliances like your coffee maker and toaster is a subtle way to make your kitchen look intentional and chic. It isn’t too difficult these days to find your countertop tools in matching colors. One great example is bright white cabinetry with copper hardware accents.
An Impressive Facelift
 When it comes to DIY counters, there are a few good options for most homeowners. The simplest (and cheapest) option would be to simply paint the countertops you already have. There are plenty of kits that make this task easy enough to do in an afternoon. The other options are a wooden countertop, traditionally called butcher block, or a cement countertop.
While cement countertops are gaining popularity, butcher block counters are still better for your bottom line ROI. This kind of countertop is trendy and modern even though it is a throwback to a farmhouse era. They’re not too difficult to make, either, if you have a handy person around the house. Here’s a great tutorial by Remodelaholic. This project will cost you around $350.
- Measure your countertops and decide how much wood you will need to buy. Make sure to get quality hardwood. This is not the place to skimp!
- Remove your current countertop. This could be easy or difficult, depending on how your countertop is attached to the bottom cabinetry. You’ll need help carrying the old countertop out of the house -- it will be heavy!
- Attach the plywood base onto the cabinets.
- Screw the top layer of wood onto the plywood. This is the place to use a harder wood (the tutorial suggests poplar or pine).
- Apply the stain. This may take several layers to get you the color you’re looking for. Because you’re applying this stain inside, make sure you wear protective gear and keep the windows and doors propped open. Ventilation is key.
- Top the stain with a clear coat. Again, multiple applications may be necessary. Each coat will need to dry for a full 24 hours before you can apply the next coat.
According to Realtor.com, remodeling your kitchen is one of the top home improvements you can do to raise the value of your home. In fact, smaller projects bring in more ROI than larger ones. All of these projects will cost you less than $500, and you will certainly see an increase in your home’s market value.
