.png?width=375&height=150&name=MicrosoftTeams-image%20(63).png "MicrosoftTeams-image (63)")

Jessica Brita-Segyde
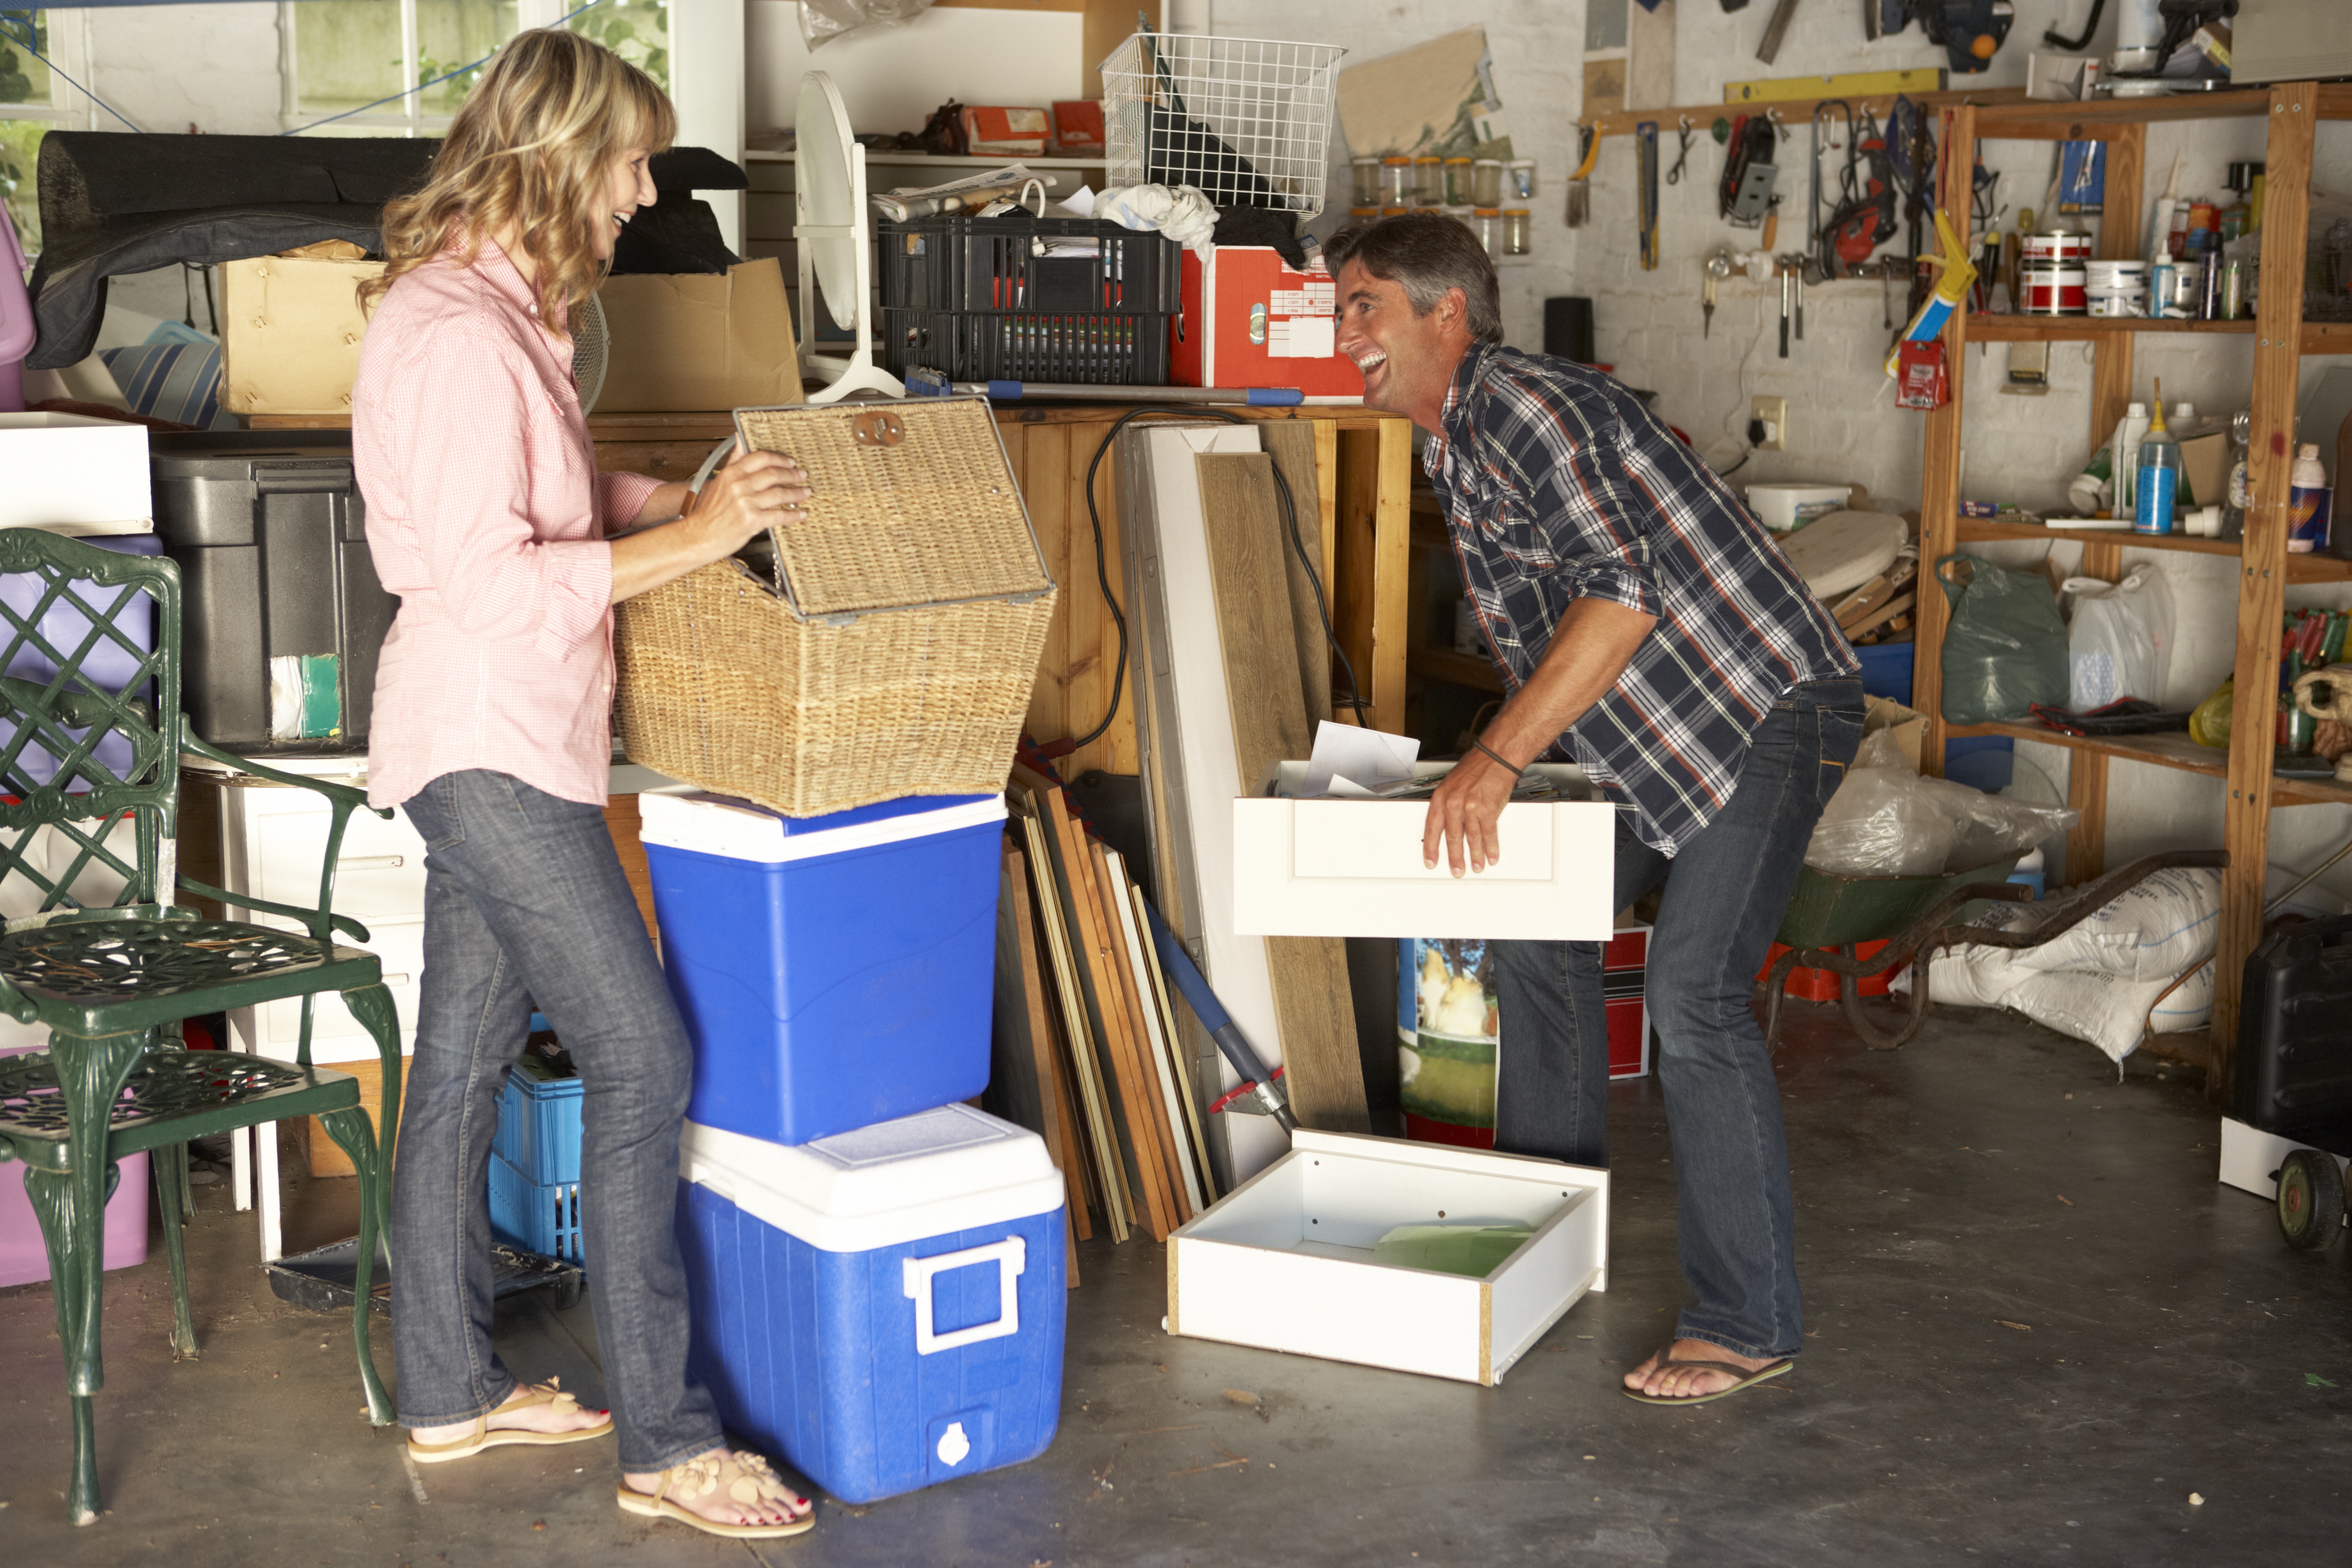
Clutter has a way of sneaking up on us, and garages are notorious for becoming catchalls for the little treasures we just don’t know what to do with yet. If your garage is looking less like a useful space and more like a hoarder’s paradise then it’s time for a proper cleanout. After all, you own that square footage, so why not OWN it! The following 8 steps (2 of them optional) will have you enjoying your garage again before the end of the weekend.
Th Eight Steps
1. Take a “before” picture. This step is not required but will lead to a great sense of satisfaction at the end of the project.
2. Bring everything out of the garage. Yes, everything. Use your driveway or front yard as a temporary holding ground for the giant mound of stuff that has taken-over your garage. Once everything is out in plain view, consider the utility and value of each item. You may find that much of what you’ve saved can be donated, recycled, or discarded. Now is the time to purge.
3. Clean your empty garage. Use a top-down approach. A shop vac comes in handy for cleaning rafters and high-up storage areas. If you’re using a ladder, make sure you have a partner to spot you. Consider wearing safety goggles and a dust mask to protect yourself from debris and allergens. You can find simple dust masks at home improvement stores like Lowe’s.
4. Look for areas in need of repair or general maintenance. Here are some of the common issues you might encounter:
a. Cracks in the walls – Most garages have poured concrete walls. Weathering and natural shifts in the earth’s surface can cause them to crack. Hardware and home improvement stores stock repair kits for jobs like this. The kit should include crack filler, application tools, and instructions. Kits may include safety goggles or you may need your own. You may also need a caulking gun. Prices range from $20 to over $100 depending on the scope of your project, so consult with a home improvement professional to be sure you’re purchasing the right materials for your job.
b. Cracks in the floor – Foundation and floor crack repair kits are also widely available. Again, consult with a professional (either at the home improvement store or before you go) so you’ll know which materials you need.
c. Broken windows, or windows that won’t open – Sometimes fixing a broken window is as simple as replacing a pane. Measure the size of glass you need and bring your measurements to a local glass shop or larger home improvement store. They can cut approved window glass in accordance with your measurements, and can offer advice on installation.
d. Light bulbs needing replaced – This one’s simple, but do remember to purchase indoor/outdoor bulbs for the garage. They’ll wear better when exposed to the elements.
e. Shelves needing secured – While the garage is empty, check to make sure that all shelves and cabinets are securely attached to the wall. Now is the perfect time to secure or replace them if needed.
5. Perform any simple improvements that you’ve been planning. Do your garage walls or floor need painted? Could the windows use new blinds? You’ve got a clean, empty garage – take advantage of the opportunity to increase your property’s value.
6. Measure the amount of space needed to park your vehicles. This includes automobiles, motorcycles, bicycles, or anything else that takes up floor space. Mark the space needed with painter’s tape so you won’t encroach on it when you bring in all the stuff that’s still sitting outside.
7. Organize. This step can seem overwhelming, so take it one step at a time.
a. Group like items together. Gardening tools, automotive needs, toys and sporting goods, and miscellaneous items can all be separated into groups while still outside of the garage.
b. Move one group in at a time. When you begin bringing items back into the garage, it is easier to organize and find a place for things if you move one group of items in before beginning the next one.
c. Keep sharp or dangerous items out of children’s reach and store hazardous chemicals properly. For advice on the storage and/or disposal of hazardous materials, consult the Indiana Department of Environmental management.
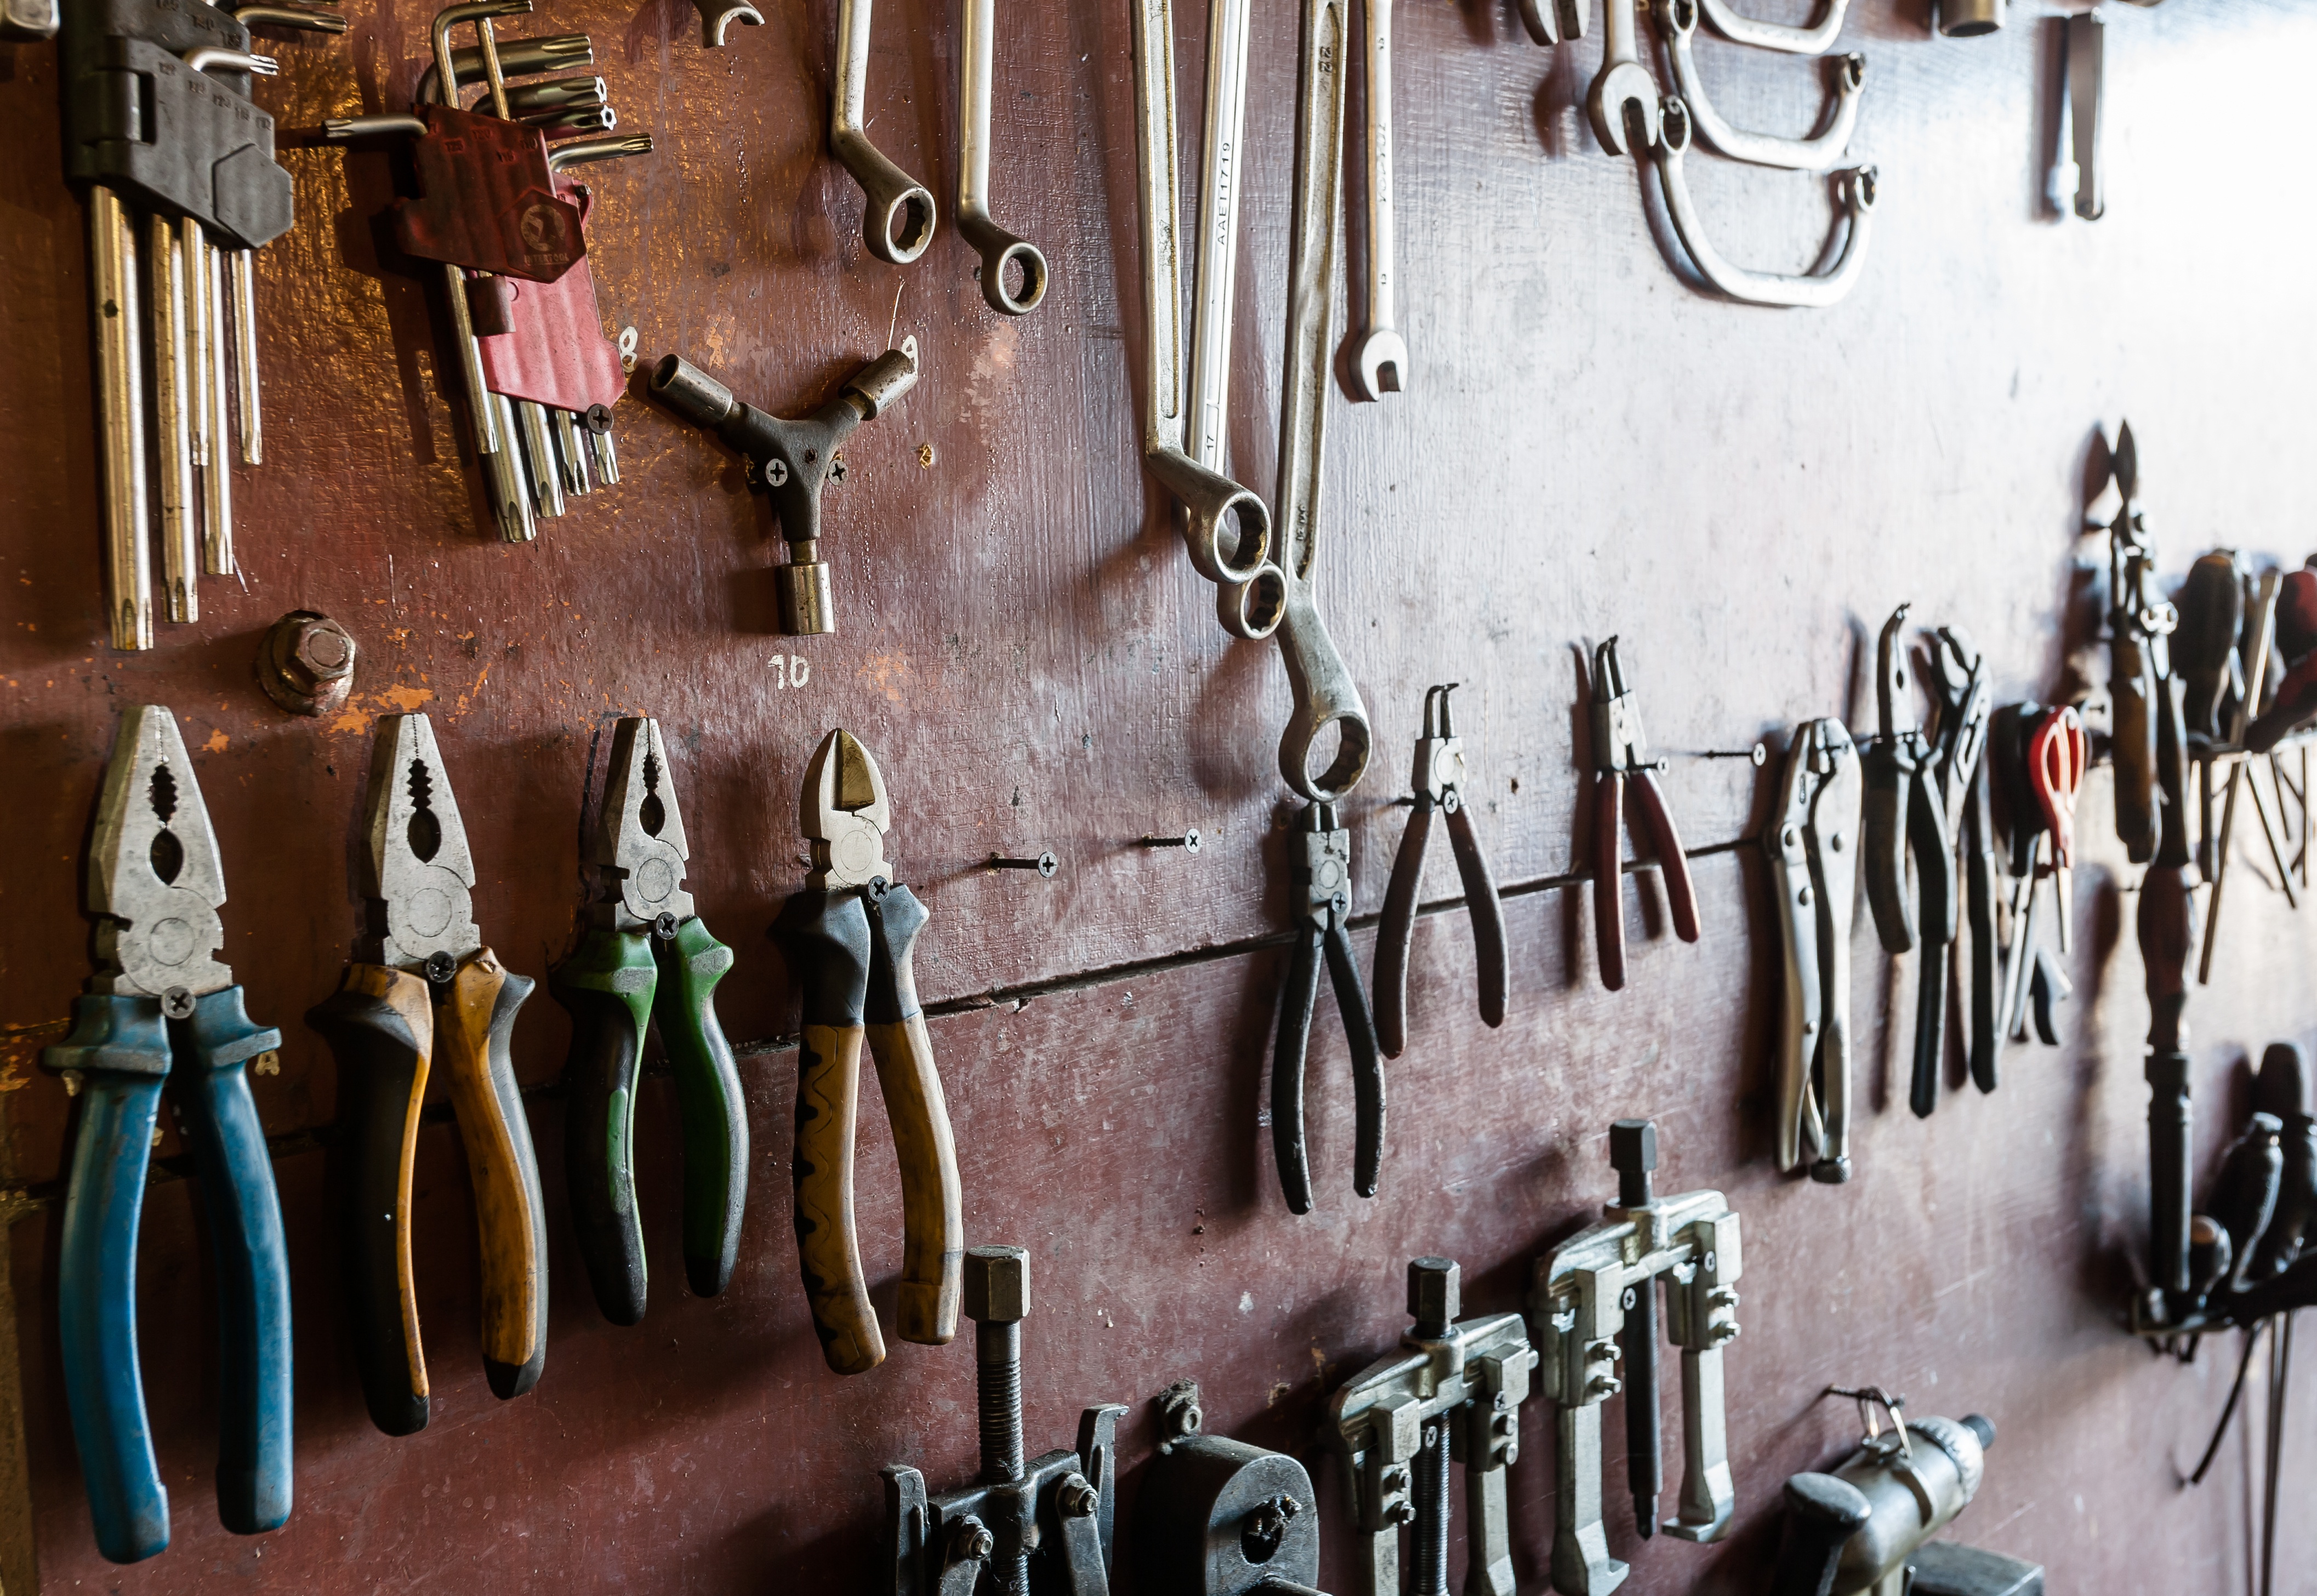
d. Neatly store small items in labeled containers or on hooks. Make the most of your wall space with peg boards.
e. Ceiling hooks are also handy for lighter items that might otherwise take up too much shelf space. Check out this photo blog from HGTV for wall and ceiling storage ideas.
8. Take an “after” photo. Post your before and after photos to social media when you share this blog! (Just like step one, this step is not mandatory.)

Voila! Now you have a whole new “room” to enjoy, and maybe even a place to park!
